Direct answer: Choose the correct water type and season first, then fish in short loops that also pass forage, villagers, or the museum. Donate the first new catch and sell duplicates unless a recipe or request needs them.
Requirements
- Fishing rod unlocked
- Inventory space
- A target season and water type
Step-by-step
- Check the fish index for season, location, weather, and size
- Travel to the narrowest matching water type
- Cast where a visible shadow can reach the bobber
- Keep enough stamina for the return route
- Donate the first required specimen
- Record missing weather-only targets for another day
Common reasons it does not work
- Check: Fishing in the right season but wrong water type
- Check: Ignoring weather restrictions
- Check: Selling the first museum specimen
- Check: Chasing one rare fish all day without a fallback route
Related items and places
Use the complete fish table for season, weather, water, and shadow filters. The Fish Wing checklist turns those lookups into a museum cleanup route.
Current-update notes
Core fishing behavior is stable. Table rows are cross-checked against wiki.gg, the Mistria Item Database, and the museum grouping; after a patch, the live Almanac and Museum remain the tie-breaker for a changed spawn.
FAQ
Why can’t I find a fish listed for this season?
Check water type, weather, time window, and shadow size together. Being in the correct season is only one filter, and moving between river, pond, and ocean resets the search faster than waiting in one spot.
Should I donate or cook the first catch?
Donate the first museum fish unless an active story quest needs it. Keep a second copy for recipes or requests, then sell routine duplicates.
Is fishing worth doing early?
Yes. It converts spare time and stamina into cash, museum progress, cooking ingredients, and gifts without requiring a large seed purchase.
Casting and stamina
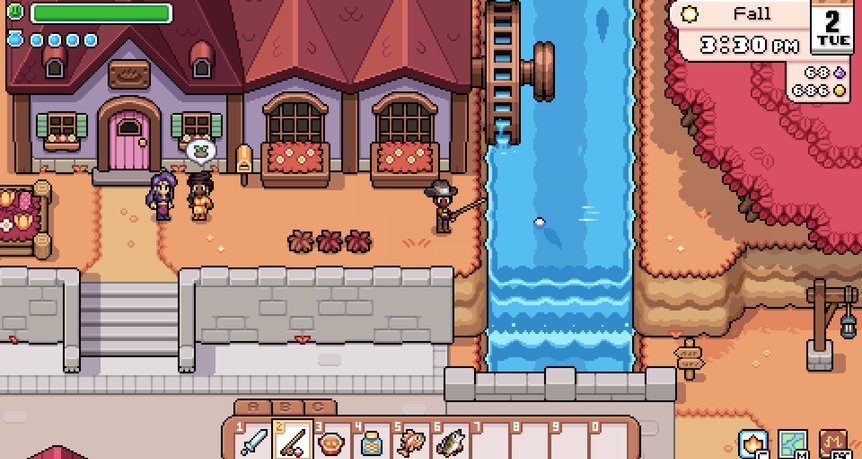
Hold the charged-tool action to place the target tile, then release over valid water. A red marker means the tile cannot be fished. Casting itself does not consume stamina; stamina is charged when a catch is completed, so failed placement is a positioning problem rather than a stamina loss.
Read the water before casting
Fish pools change by water type. Ponds, rivers, ocean, each mine biome, and the Deep Woods are separate search areas. Shadow size is the fastest filter once location, season, and weather are correct.
| Target | Best approach |
|---|---|
| Museum fish | Match set, season, water, weather, and size |
| Money | Catch common nearby fish with low travel time |
| Recipes | Keep only the species needed by planned dishes |
| Legendary fish | Dedicate the weather day to the exact condition |
Route efficiency
Choose one water family per trip and loop between nearby maps to refresh shadows. Bring enough food to stay out, but do not fill the inventory with low-value items before the rare target appears. Donate the first new catch and label a chest for cooking fish.
When nothing bites
Check that the shadow can reach the bobber, move one tile closer, and recast. If the wrong sizes dominate, leave and re-enter the area. For collection gaps, use the fish table; for weather locks, see legendary fish.