Direct answer: Build a compact working core near the farmhouse first: storage by the exit, crops in tool-sized blocks, paths to every daily chore, and an empty expansion lane for animals or makers.
Requirements
- A rough idea of daily crop capacity
- One storage zone
- Space reserved for future buildings
Step-by-step
- Mark the farmhouse-to-exit route
- Place daily-use storage beside that route
- Create crop blocks that match your watering pattern
- Keep animal gates away from narrow paths
- Reserve a flexible maker and expansion strip
- Decorate only after the daily route feels easy
Common reasons it does not work
- Check: Huge crop fields before upgraded tools
- Check: One-tile choke points
- Check: Storage scattered across decoration zones
- Check: No open area for later buildings
Related items and places
Plan crop space with the crop table, reserve building capacity using the animal reference, and keep the money route close enough that machines do not add avoidable walking.
Current-update notes
Layout principles are version-stable; building footprints should be checked in the current placement preview.
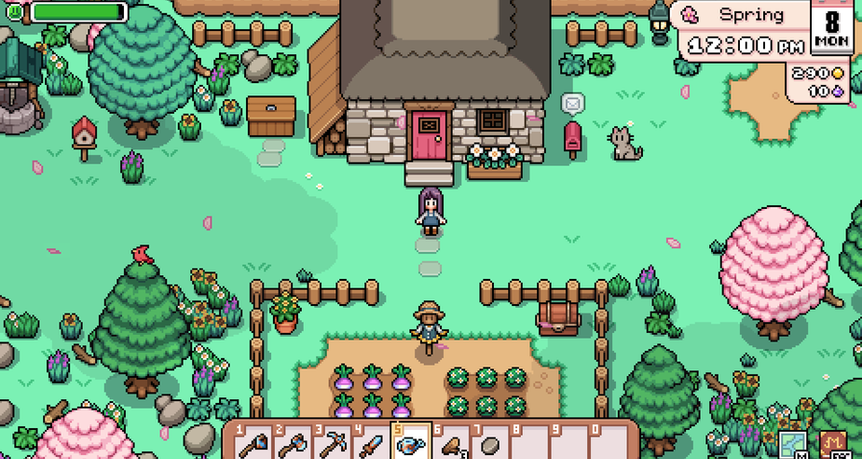
FAQ
Should I design the final farm in the first season?
No. Reserve broad zones for crops, animals, storage, and decoration, but delay exact paths until you know building footprints and daily routes. Early flexibility saves more time than perfect symmetry.
What belongs near the farmhouse exit?
Place shipping, frequently used chests, and the first stop on your crop or animal route close to the exit. Rarely used machines and decorative collections can sit farther away.
Is there a layout planner?
Yes. The Mistria Progress Tracker includes a browser-based planner. Use it to test footprints, then reproduce the plan in-game in small sections rather than moving the whole farm at once.
Design around walking, not screenshots
A good layout shortens the route between the farmhouse, crops, animals, storage, crafting, and the farm exit. Decorative symmetry is optional; daily walking is not.
| Zone | Put nearby | Leave room for |
|---|---|---|
| Morning zone | Crops, seed chest, tools | Sprinklers and scarecrows |
| Animal zone | Barns, coops, feed storage | Gates, grass, breeding capacity |
| Production zone | Mill inputs, crafting storage | New machines and bulk paths |
| Display zone | Trees, furniture, seasonal decor | Camera sightlines and redesigns |
Start with temporary paths
Use cheap flooring or visual markers before committing expensive materials. Walk the proposed route for several mornings. If you keep cutting across crop rows or opening the wrong chest, the layout is telling you where the real path belongs.
Expansion rules
Reserve at least one building-sized rectangle, keep doors clear, and avoid placing permanent trees where future animal buildings need to connect. Animal breeding also benefits from spare building capacity, so the layout should not assume every slot is permanently full.
Crop blocks
Build field modules around the watering tool or sprinkler reach you actually have. A smaller block completed quickly is better than a giant field that prevents fishing, mining, or social progression.
Use the crop reference and animal guide to size production before decorating the remaining space.